
Main Principles
What are the three most important principles in context-embedded planning for EAL pupils across curriculum subjects?
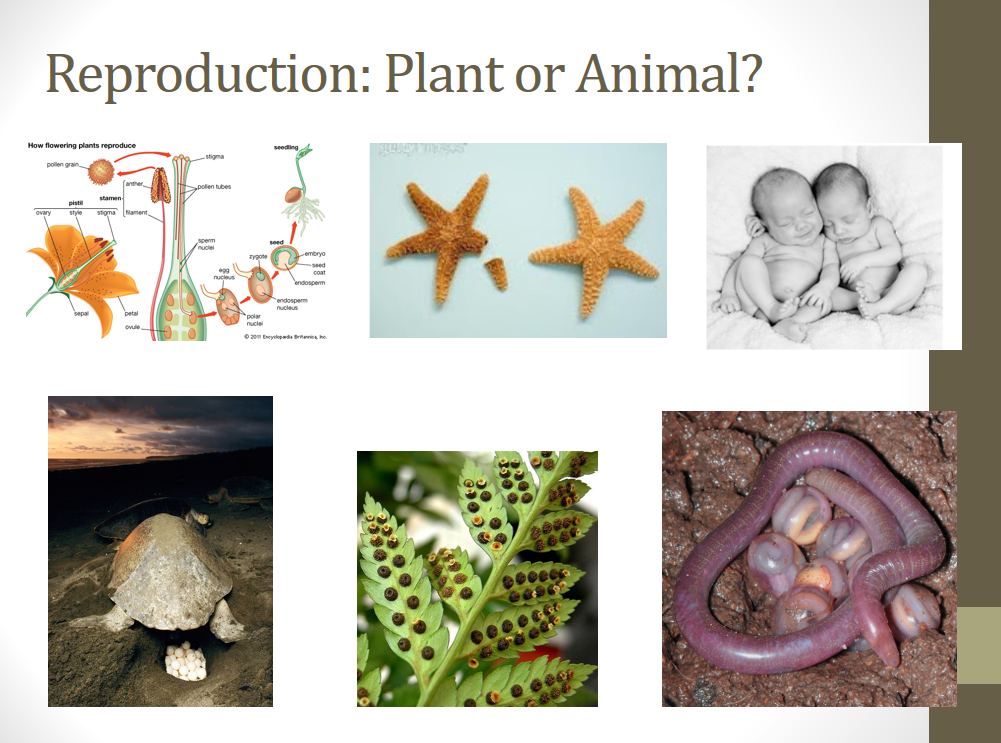
Strong visuals or strong vocabulary? Is there a right approach?
- lead with visuals – first the concept, then the language.
- give the language you want them to use – make the key terms explicit and require they use them from the outset.
- plan activities (the context) in which the language is embedded – start with academic concepts and processes
Why? As explained in other articles here, EAL students who have been previously educated are not suffering from native-speaker, low literacy issues. They simply do not know the English for concepts they have been introduced to in their own educational systems.
Note: Non-educated, interrupted education or refugee status pupils are a different kettle of fish. However, even they benefit from visuals to help concretise concepts and explicit language with which to label them. But they will make slower progress due to inexperience with institutional settings and learning.
The Cognitive Effect of Visuals
Pictures help them to access higher cognitive/abstract thinking in their home language. Once they have the concept, tell them what it is in English. They will lay that word side-by-side with their own language in a natural process of contrastive linguistics. Science, Maths, Technology and Geography have natural linguistic advantages here. Many key words have roots in Greek or Latin. Both root languages have been adopted across Indo-European languages can be recognised by students across Europe, Asia and Africa.
Embedding Context and Lesson Structure
Lesson structure is very important. This article is accompanied by two resources which you can get from my TES store for free. I discuss them here.
Lesson: EAL and Germination
- Resources Needed:
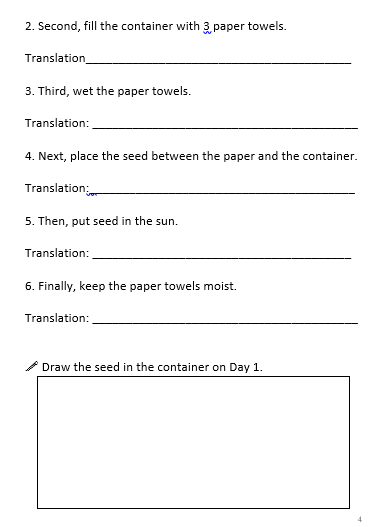
- EAL and Germination booklet in which they do their work/writing/assessment
- EAL and Germination Power point for visuals and lesson structure
- Seeds, paper towels, glasses or cups, water, plant (pulled from school grounds)
Pedagogical Approaches
Do the experiment and describe after: EAL students benefit from having the experience FIRST, and then putting language to it.
Use general scientific principles: do, observe, compare and describe. Previously educated pupils can use transferable skills which require higher cognitive abilities to observe, compare, pull from previous academic or cultural knowledge to apply in a different context and predict.
Discuss in home language to access higher cognitive understanding: this works well if you have a group of EAL students who share a language and can discuss with each other first BEFORE taking on the English vocabulary for the terms.
Observe student communicative skills: Students who can effectively communicate with peers in home language about the pictures on the power point or about the experiment are most likely cognitively normal or able and do not have an affective block on their language acquisition. Look at the energy and quality of the discussion between students. Arguments are a good sign!
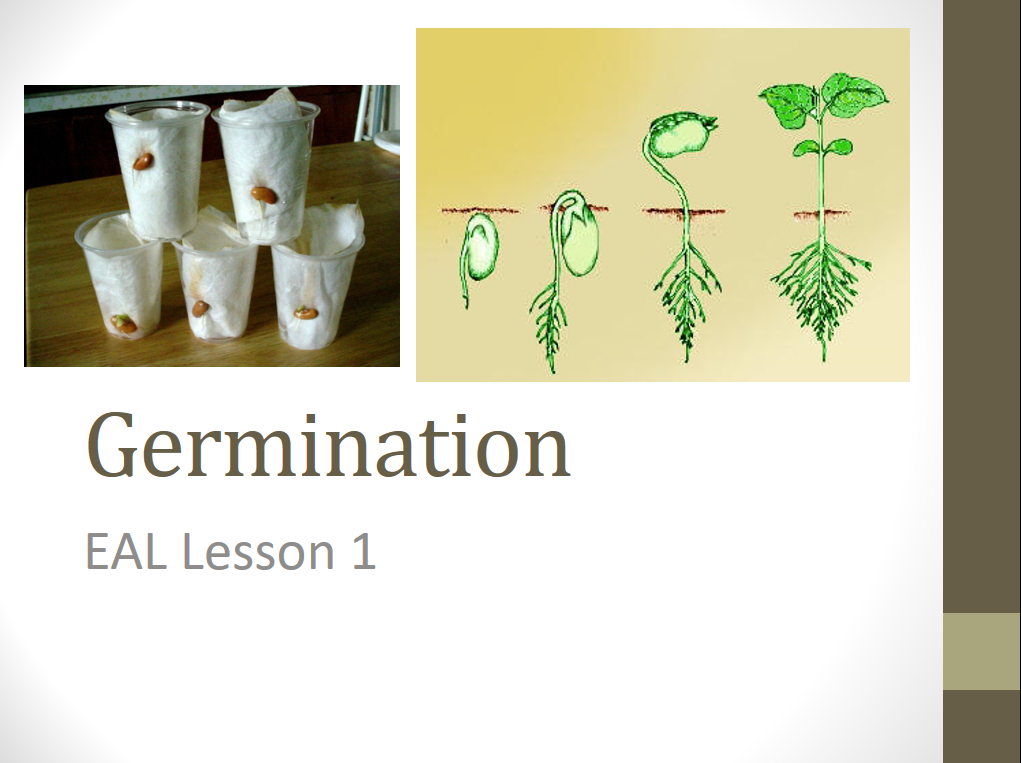
Slide 1: The picture of the seeds germinating in the cups and the bean sprouting are important. They show the students what the end result will be of their experiment. They need to see where they are going.
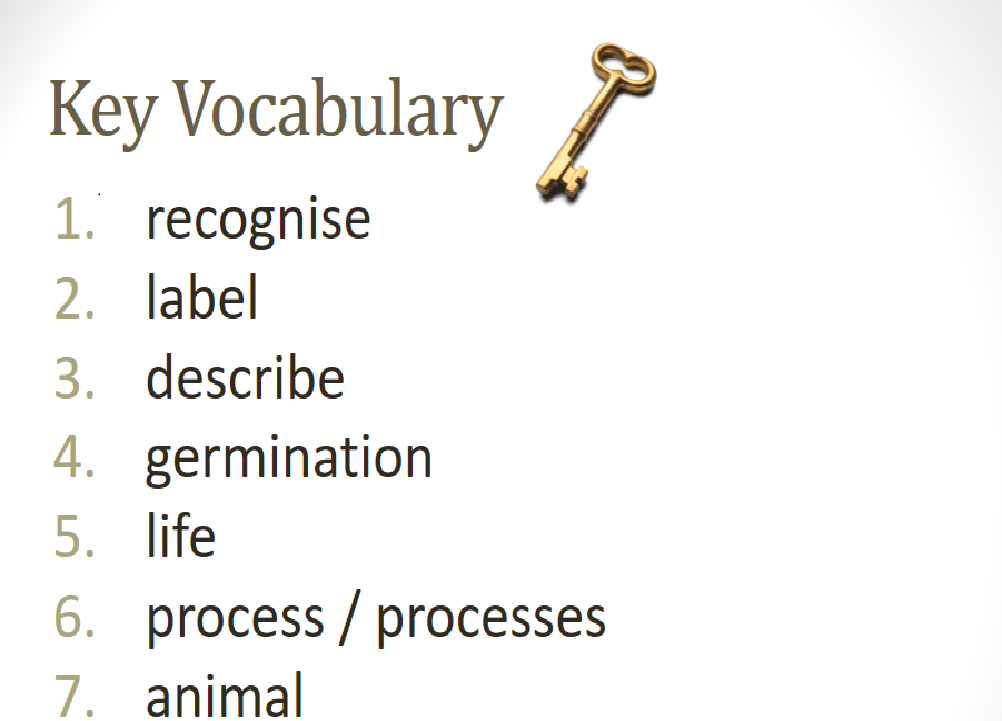
Slide 2: Students should have this printed out or write the terms down. These are general educational tasks and key words from the learning objectives. It is advisable to give words used in the learning objectives before the learning objectives.
Give the students time to translate and/or discuss. Students can write these up wherever you want. Often it’s interesting for students to see each others’ language translations on the board together along with the English. That gives them something else to put their contrastive language skills towards.
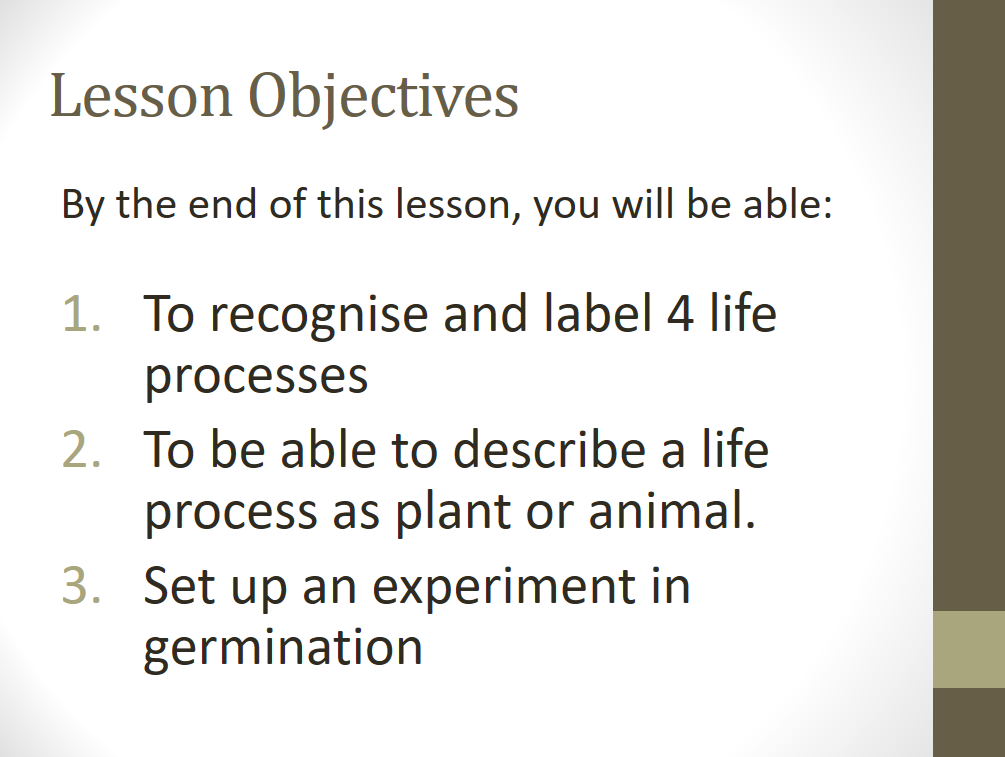
Slide 3: Using the key vocabulary you gave and they translated, the students should be given time to figure out what these learning objectives mean. It will be important for them to locate where they are in the lesson as you go along. Remember, you are also teaching them how UK lessons are structured and what to expect in their classes across curriculum subjects.
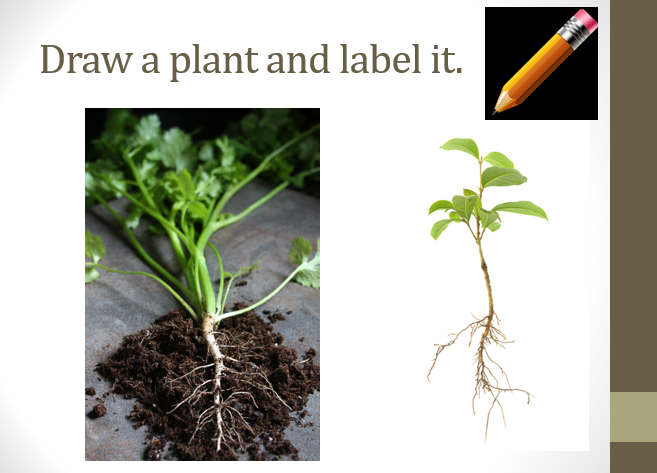
Slide 4: I often start this lesson, before the power point, with taking students outside to pull up a plant/weed from the play area. This gives them something active to do and concrete to refer to if they have not seen the whole plant, root to stem, before. We place them on paper towels and wait until this part of the lesson to refer to them.
Slide 5-8: The next several slides have very strong images on them to elicit language production from the students and to allow you to get across the concept behind the question. Students here should be verbally scaffolded to answer in full, if short, English sentences using the key word.
Slide 9: Concepts are given to translate now that students have seen and discussed the visuals.
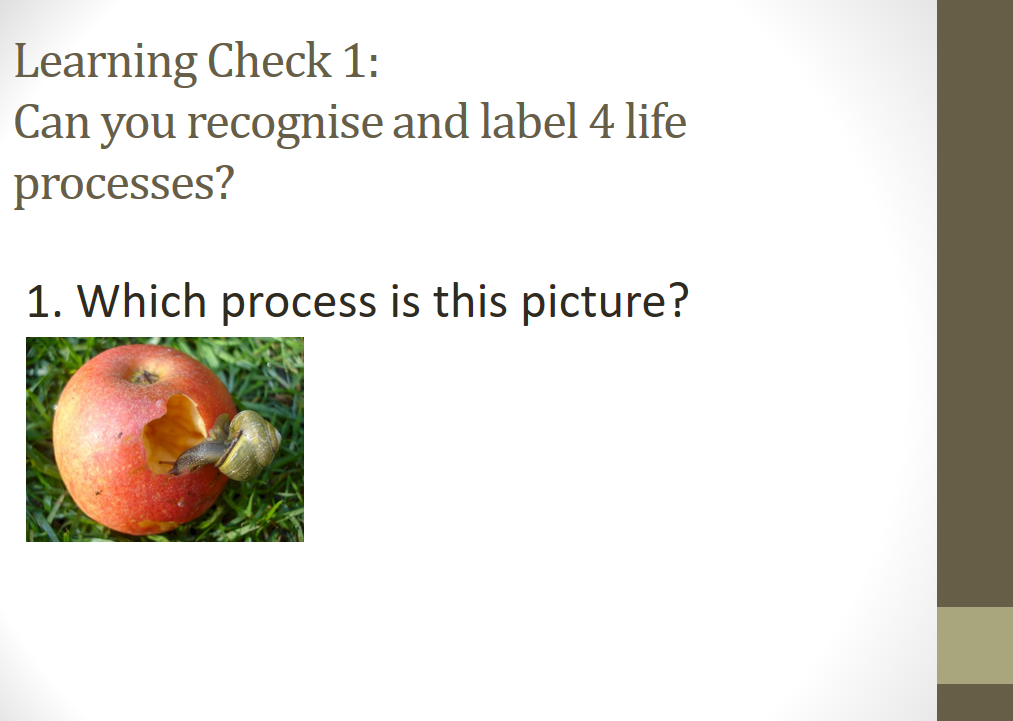
Slide 10-13: These are learning checks that give the student an opportunity to show what they have learned conceptually as well as linguistically. Teachers should elicit verbal answers and scaffold where necessary.
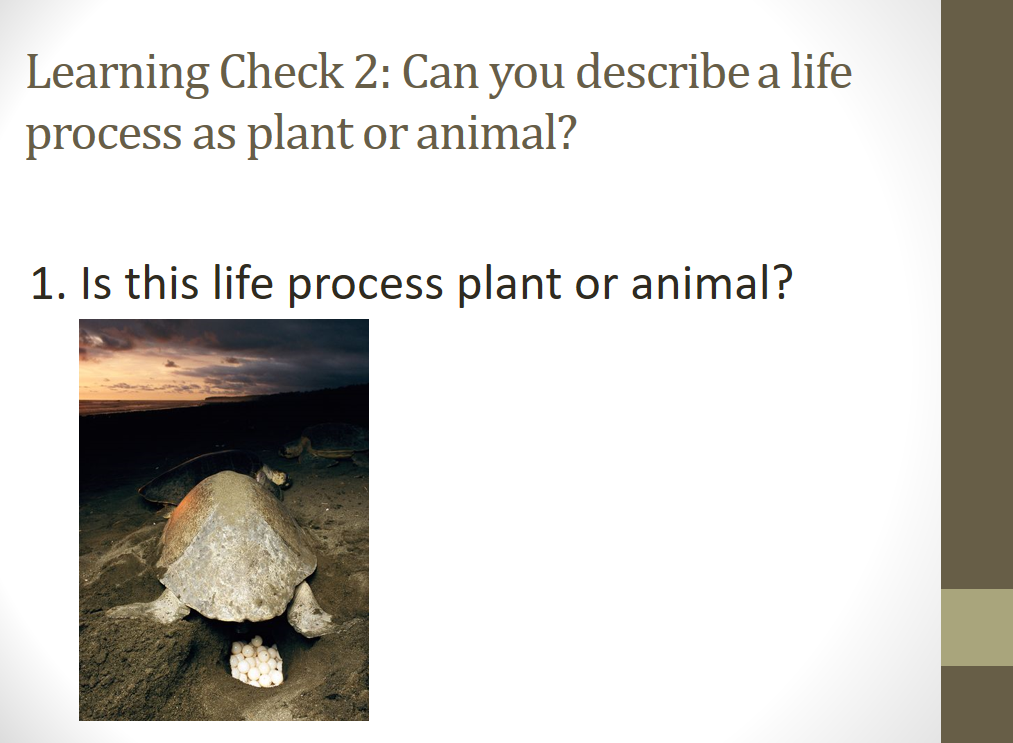
Slides 16-19: This then uses the same concepts to build a second piece of information about what life process it is and whether it is plant or animal. Students get the same images. Here you can push the language forward by asking what the life process is called, whether it is plan or animal and then asking for further details about what animal it is or where it is happening.
Code-switching
Students may code-switch at this point, using ‘It is a..’ but giving the noun in their home language. That is evidence of conceptual understanding. Try to copy their sentence verbally and allow them to correct your pronunciation. Then teach them the English for the noun. Here both of you will be helped by referencing the picture.
This is a very effective method of developing pupils. By switching temporarily into the learner role and allowing them to teach you, you build enormous affective, cognitive and linguistic resilience in the pupil.
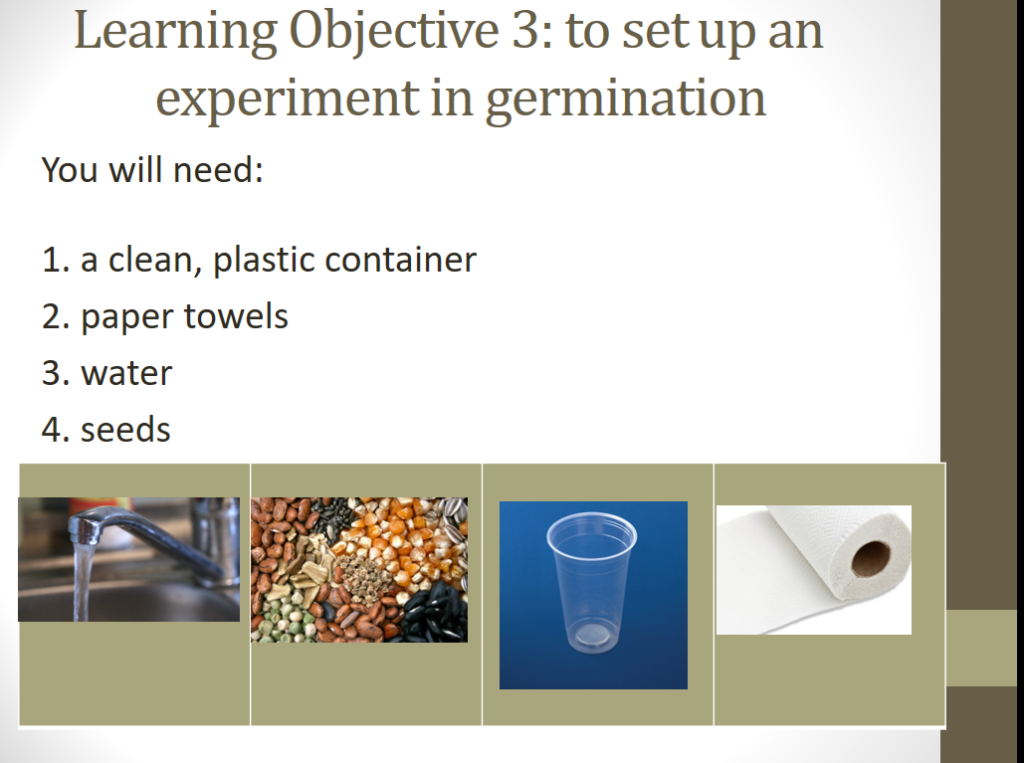
Slide 20: Here is where you switch back to the booklet and the materials for the experiment.
The teaching here is based on the objects in front of you and allowing the students to make the germination cups. Again, this is very powerful as a teaching agent.
Observe, observe, observe!
You should be constantly observing your pupils. Do they look to others for an example; are they thinking aloud to themselves in home language; do they recognise the seeds or the process; are they impatient to get the process done because they have figured it out. These are all evidence of past educational experience, the ability of the student to apply knowledge in a new situation, and normal or good cognitive ability. Students who do not show these signs will need your observations to be hypothesis tested as explained in my Practical Case Study Series 1 article.
After the initial translation of the resources and setting up the experiment, you can now go back and look at describing what you have just done. Students will have a chance here to discuss and translate the steps they went through to get to the finished product. They will also practice scientific observation and recording in drawing their germination cup on day 1.
Students may continue with other areas of learning (Maths, ESOL) but they will need to water their cup every day and have another opportunity to observe and record the progress of their seedlings.
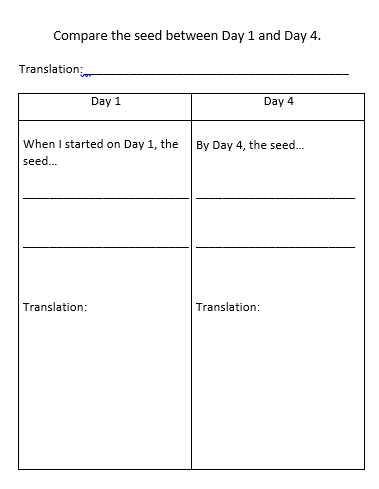
They will continue to observe their seed growing and draw further pictures, thus setting up their ability to compare and use comparative language. Again, comparative language will need to be scaffolded, discussed, translated and finally written.
Vocabulary will be important here and so they will have all the vocabulary in the booklet gathered on the next page for discussion, translation and use. Notice the language push. I include sequential language, scientific terms, and then allow for the independent, possible group work situation of the collation of the smaller verbs and words. It is important to give them ‘is’ and ‘are’ as well as smaller High Frequency Words (HFW).
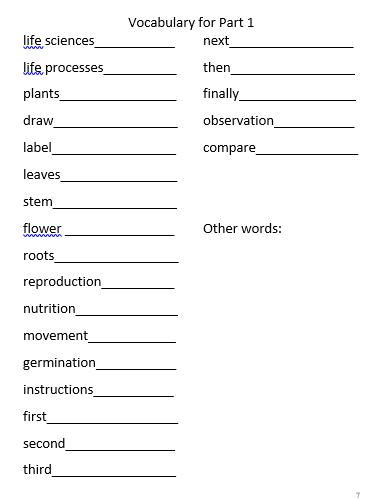
Most ESOL starts with HFW; that does not allow for students to show their cognitive capability. Introducing academic concepts and processes while slotting the language into that experience is a more effective (and fun) way of determining a child’s cognitive capability and what further support might be needed whether academic or emotional.
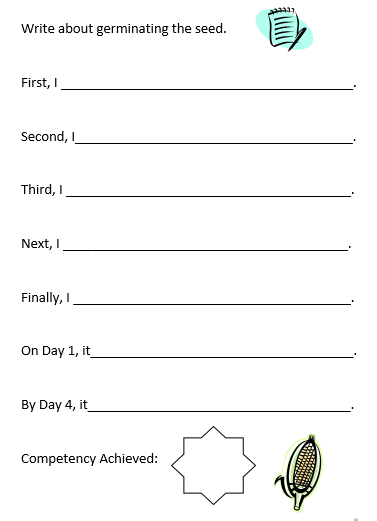
Assessment: Here is where the students get to test run their new English. This can be a supported or unsupported writing exercise. You can then use it to determine the student’s ability to absorb and use new academic English; the DFE Competency Codes should be used to document their process. Solihull’s are very useful and I recommend their version.
Let me know how your planning goes!